
Having a well-organized garage is essential for maximizing space and improving accessibility. One practical solution is to build wall shelves. In this comprehensive guide, we will walk you through the step-by-step process of building sturdy wall shelves in your garage. You don't need to be a professional handyman to accomplish this project – just follow our instructions, and you'll have an efficient storage solution in no time.
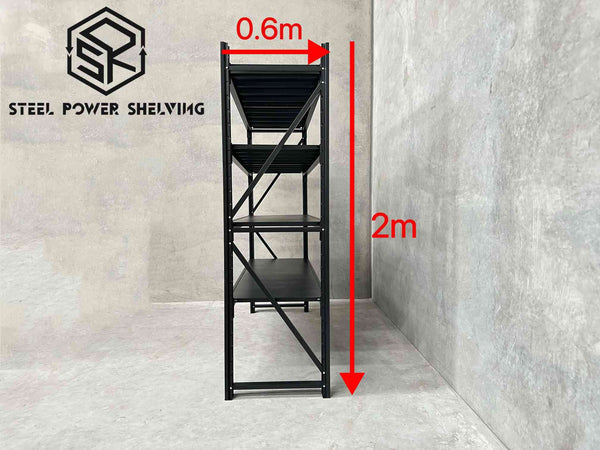
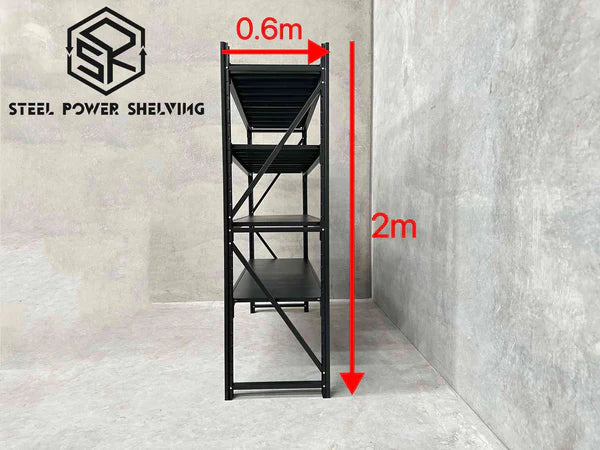
Shelf 2.0m(H)x2.0m(L)x0.6m(D)1000kg
1: Getting Started
Before you begin building the shelves, gather the necessary tools and materials. You'll need brackets, screws, a level, a drill, a measuring tape, and a stud finder. Additionally, consider the weight capacity required for your shelves and the type of material you want to use. With these preparations in place, you'll be ready to move on to the next steps.
2: Planning and Preparation
Proper planning is crucial for a successful shelf-building project. Begin by measuring and marking the wall where you intend to install the shelves. Use a stud finder to locate the studs for anchoring the brackets securely. Create a layout plan and determine the spacing between shelves based on your storage needs. This planning phase will set you up for a well-organized and functional storage solution.
3: Installing Brackets
Once you have your wall marked and studs located, it's time to install the brackets. Position the brackets based on your layout plan, ensuring they align with the studs. Use a level to ensure they are straight, then mark the screw hole locations. Pre-drill holes to prevent wood splitting, and attach the brackets securely to the wall.
4: Attaching Shelves
After the brackets are in place, it's time to attach the shelves. Measure and cut the shelves to fit your desired length and width, using a circular saw or a similar tool. Ensure the shelves are level, placing a spirit level on top to double-check. Secure the shelves to the brackets using screws or other appropriate fasteners. Take your time during this step to ensure the shelves are stable and safe.
5: Customization and Optimization
To make the shelves even more functional, consider customization options. Add hooks or hangers for storing tools, hanging ladders, or garden equipment. If you prefer a more aesthetic look, paint or stain the shelves to match your garage's decor. Additionally, optimize the storage capacity by installing additional features like bins or dividers.
6: Maintenance and Organization Tips
To maintain the effectiveness of your garage shelves, implement good organizational practices. Label storage bins for easy identification and accessibility. Regularly clean and declutter the shelves to avoid buildup of unnecessary items. You can also create a maintenance schedule for inspecting the shelves and ensuring they remain stable and secure.
Building wall shelves in your garage is a practical and rewarding DIY project. By following the steps outlined in this guide, you can create an efficient storage solution tailored to your needs. Remember to prioritize safety, take accurate measurements, and use quality materials for long-lasting results. Embrace customization options to maximize functionality and optimize space utilization. With these tips and techniques, your garage shelves will not only provide organized storage but also enhance the overall appeal of your space.