
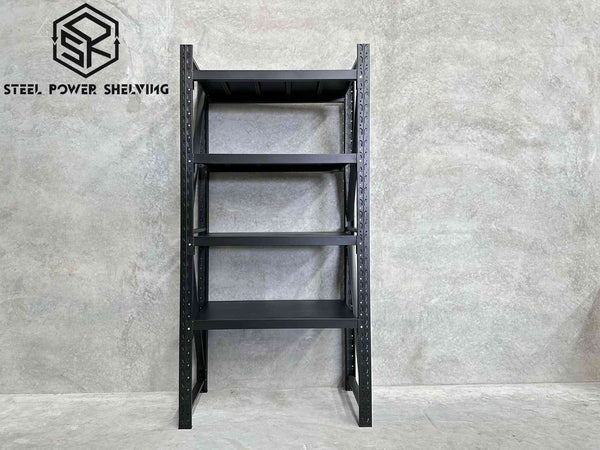
Having a well-organized garage is essential for homeowners who want to maximize storage space and create a functional working area. Garage shelves are an excellent solution for organizing tools, equipment, and other household items. In this article, we will guide you through the process of building garage shelves, enabling you to transform your cluttered garage into an organized space.
Step 1: Planning and Design

Before you begin building garage shelves, take some time to plan and design your space. Measure the area where you want to install the shelves, considering the dimensions and layout of the garage. This step will help you determine how many shelves you can install and ensure a proper fit.
Step 2: Material Selection

Choose the right materials for your garage shelves based on your budget and intended use. Wooden shelves are a popular choice due to their durability and versatility. Other options include metal shelves or heavy-duty plastic shelving units. Select materials that can withstand the weight of your items and the conditions of the garage environment.
Step 3: Gathering Tools and Supplies

Prepare all the necessary tools and supplies before you start building. Common tools include a tape measure, level, electric drill, screws, and a saw. For safety purposes, wear protective goggles and gloves when using power tools.
Step 4: Building the Frame
Begin by constructing the frame for your garage shelves. Measure and cut the pieces of wood according to your desired shelf dimensions. Use a level to ensure the frame is straight and secure the pieces using screws or nails. Reinforce the corners with brackets for added stability.
Step 5: Installing Shelving Boards
With the frame in place, it's time to install the shelves. Cut the shelving boards to fit the size of the frame, and consider spacing them evenly to accommodate different-sized items. Secure them to the frame using screws or brackets, making sure they are level and securely attached.
Step 6: Mounting the Shelves
Determine the placement of your shelves within the garage. Measure and mark the spots where the shelves will be mounted on the walls. Use a level to ensure accurate placement. Secure the shelves to the wall using brackets, screws, or L brackets, depending on your chosen method.
Step 7: Finishing Touches
To enhance the durability and appearance of your garage shelves, consider sanding the surfaces and applying a coat of paint or sealant. This step will protect the wood from moisture and potential damage.
Building garage shelves is a cost-effective and efficient way to improve your garage's functionality and organization. By following this step-by-step guide, you can create custom shelves tailored to your needs and ensure your garage remains neat and clutter-free. Get started today and enjoy a well-organized space that maximizes your storage capabilities.