
Table of Contents
- Introduction
- Benefits of Garage Wall Shelving
- Tools and Materials You’ll Need
- Step 1: Assess Your Wall and Space
- Step 2: Choose the Right Shelving System
- Step 3: Measure and Mark Your Wall
- Step 4: Install Wall Brackets or Tracks
- Step 5: Attach the Shelves
- Step 6: Add Pegboards or Connecting Shelves (Optional)
- Step 7: Organize and Load Your Items
- Why Choose Steel Power Shelving?
- Summary Table
Introduction
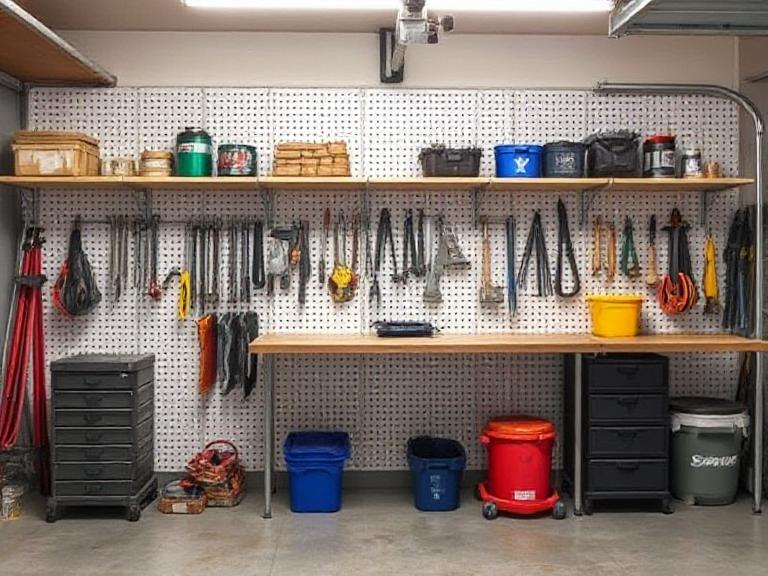
Garages often become dumping grounds for tools, seasonal gear, and miscellaneous items. With a simple wall shelving system, you can maximize vertical space and bring structure to your storage. Whether you're a DIY beginner or experienced builder, this step-by-step guide shows you how to easily build garage wall shelving and upgrade your space efficiently.
Benefits of Garage Wall Shelving
- Space-saving: Free up floor area by utilizing vertical wall space.
- Organization: Designated shelves for tools, supplies, and more.
- Easy access: No more digging through piles or boxes.
- Safety: Reduce tripping hazards and improve storage of sharp or heavy items.
Tools and Materials You’ll Need

- Level
- Measuring tape
- Stud finder
- Drill and appropriate drill bits
- Screws and wall anchors
- Shelves (wood or metal)
- Shelving brackets or wall tracks
Step 1: Assess Your Wall and Space

Before installing shelving, examine your garage walls to determine:
- Wall type: Drywall, masonry, or wood stud
- Weight capacity: How much weight your wall can handle
- Obstacles: Outlets, pipes, or switches in the way
Step 2: Choose the Right Shelving System

Pick a system that suits your garage size, budget, and storage goals. We recommend exploring the robust solutions from Steel Power Shelving.
Popular Steel Power Shelving Options:
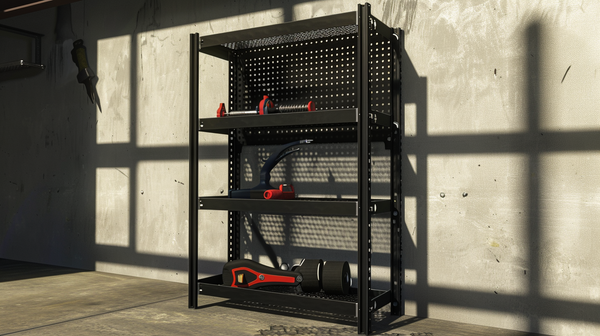
- Garage Shelving: Heavy-duty racks for tools and boxes
- Connecting Shelf: Expandable units for larger setups
- Shelving with Pegboard: Combine shelf storage with hanging tool organization
Step 3: Measure and Mark Your Wall

- Use a level and pencil to draw horizontal lines for each shelf.
- Find and mark the studs using a stud finder for secure mounting.
- Measure shelf spacing depending on item heights (e.g., 12"–18").
Step 4: Install Wall Brackets or Tracks

Depending on your system (floating or bracketed):
- Brackets: Attach directly to studs using lag bolts or anchors.
- Track system: Mount vertical tracks to studs and adjust brackets laterally.
- Ensure everything is level and tightly secured before moving on.
Step 5: Attach the Shelves

- Place shelves on brackets or tracks.
- Screw them in place if needed to prevent shifting.
- Test stability by gently pressing on different ends.
Step 6: Add Pegboards or Connecting Shelves (Optional)

Enhance your system by adding:
- Pegboards: Mount behind or beside shelves to hang small tools.
- Connecting Shelves: Bridge gaps between two shelves for continuous space.
Step 7: Organize and Load Your Items
- Sort items by weight—heaviest items at the bottom, lighter ones on top.
- Use labeled bins and containers for small parts and fasteners.
- Leave breathing space between items to avoid clutter.
Why Choose Steel Power Shelving?
Steel Power Shelving is Australia's leading garage shelving expert, based in Brisbane. They provide high-performance shelving products supported by a dedicated local delivery team and reliable after-sales service.
Key Features:
- Durable construction: Built to withstand garage wear and tear
- Versatile systems: Expandable and customizable to your needs
- Local support: Smooth delivery and helpful customer care
- Innovative accessories: Like pegboards and connecting shelves for a modular setup
Summary Table
| Step | Task | Key Tip |
|---|---|---|
| 1 | Assess your wall & space | Check for studs and obstacles |
| 2 | Choose shelving type | Use Steel Power Shelving for durability |
| 3 | Measure & mark walls | Use a level and stud finder |
| 4 | Install brackets or tracks | Secure to studs for safety |
| 5 | Attach shelves | Ensure proper alignment and stability |
| 6 | Add extras | Use pegboards and connecting shelves |
| 7 | Organize items | Heavier items on lower shelves |