Building wood shelves in your garage can be a practical and rewarding DIY project. Here's a step-by-step guide to help you get started:

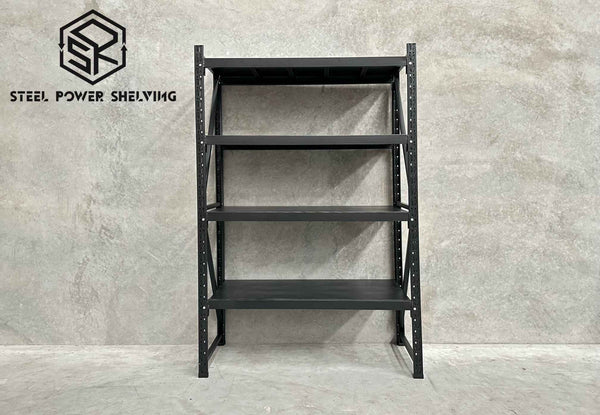
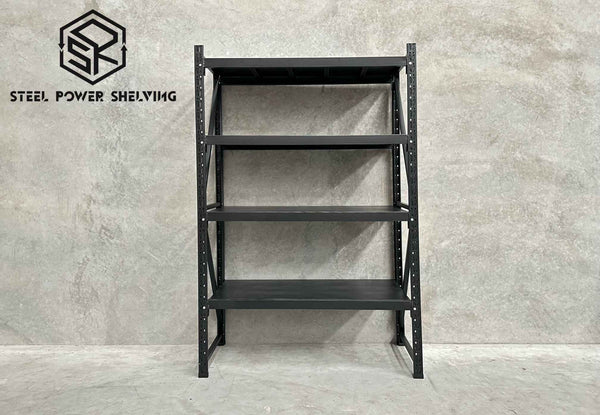
Shelf 1.8m(H)x1.2m(L)x0.5m(D)600kg
Materials and Tools for building wood shelves in garage:
- 2x4 lumber (pressure-treated recommended for durability)
- Plywood or OSB (oriented strand board) for shelf surfaces
- Wood screws
- Measuring tape
- Pencil
- Level
- Circular saw or hand saw
- Drill
- Screwdriver bit
- Stud finder (optional but helpful)
- Safety glasses and ear protection
Step-by-Step Instructions for building wood shelves in garage:
-
Plan and Measure:
- Measure the available space in your garage where you want to install the shelves. Consider the height, width, and depth of the shelves to suit your storage needs.
- Make a sketch or plan on paper to visualize the layout and measurements.
-
Locate Wall Studs:
- Use a stud finder or tap the wall lightly to locate the studs along the wall where you'll be mounting the shelves. Attaching the shelves to the studs ensures they can support heavy loads.
-
Cut the Lumber:
- Using a circular saw or hand saw, cut the 2x4 lumber to the desired length for the vertical support posts (height of the shelves).
- Cut additional 2x4 lumber pieces for the horizontal supports (width of the shelves).
-
Assemble the Frame:
- Lay the cut 2x4 lumber on the ground and assemble the frame. Attach the horizontal supports to the vertical posts using wood screws. Ensure the frame is square and level.
-
Attach the Frame to the Wall:
- With the help of a friend or family member, lift the frame and position it against the wall where you want the shelves to be.
- Use a level to ensure the frame is plumb and level, then mark the location of the studs on the frame.
- Drill pilot holes through the frame into the studs and secure it to the wall using wood screws.
-
Install Shelf Surfaces:
- Cut the plywood or OSB to the desired width and depth of the shelves.
- Place the cut pieces on top of the frame and secure them in place with wood screws, driving them down into the horizontal supports.
-
Add Additional Shelves:
- Repeat steps 3 to 6 to add more shelves to the frame as needed. Space the shelves according to your storage requirements.
-
Optional Bracing (for longer shelves):
- If your shelves are long and might sag over time, consider adding diagonal braces from the vertical supports to the wall for extra stability.
-
Sand and Finish (Optional):
- Sand the rough edges and surfaces of the shelves to make them smooth.
- You can apply a wood finish or paint if you want to enhance the appearance and protect the wood.
Remember to wear safety glasses and ear protection when using power tools. Take your time to measure and cut accurately for a sturdy and well-built set of wood shelves that will provide valuable storage space in your garage.

