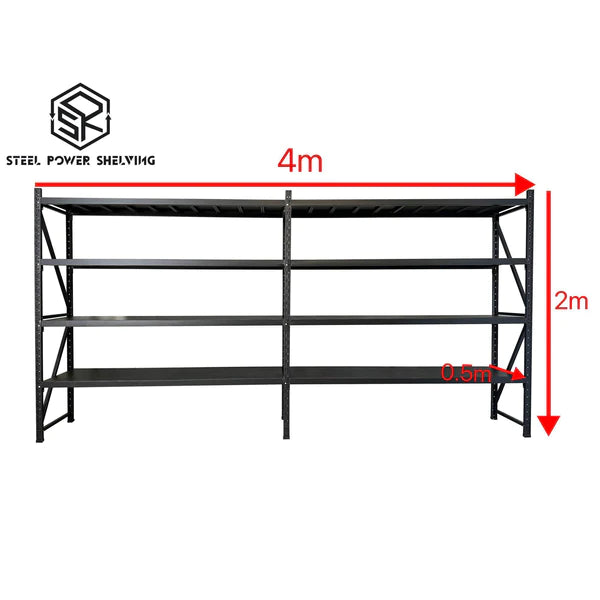
A cluttered garage can be a headache for any homeowner. To maximize space and keep your garage organized, installing durable and reliable shelving is a must. In this article, we will explore the benefits of SteelPowerShelving and provide a step-by-step guide on creating Do it yourself garage shelves using this brand. With its strength, versatility, and cost-effectiveness, SteelPowerShelving is an excellent option for anyone looking to transform their garage into an organized and functional space.

1: Understanding SteelPowerShelving :
SteelPowerShelving stands as a reliable brand that offers high-quality, steel-based shelving solutions designed with durability and efficiency in mind. These shelves are specifically engineered to withstand heavy loads and provide unrivaled sturdiness for your garage storage needs.
The key benefits of SteelPowerShelving include:
- Strength and Durability: Made from sturdy steel materials, these shelves are capable of supporting substantial weight, ensuring long-lasting functionality.
- Versatility: SteelPowerShelving offers diverse configurations, allowing you to create customized storage solutions to fit your garage layout and preferences.
- Cost-effectiveness: Compared to other shelving options, SteelPowerShelving provides outstanding value for money, offering a balance between quality and affordability.
2: Materials and Tools Required:
Before starting your DIY project, gather the necessary materials and tools. To create your own SteelPowerShelving garage shelves, you will need:
- SteelPowerShelving components: Purchase the required shelving units, uprights, brackets, and other accessories based on your desired configuration and measurements.
- Measuring tape: Accurate measurements are crucial for creating customized garage shelves that perfectly fit your space.
- Drill and screwdriver: Necessary for mounting brackets and securing the shelving components.
- Level: To ensure the shelves are even and balanced when installed.
- Pencil and masking tape: Used for marking the wall and floor for precise placement.
- Safety gear: Gloves, safety goggles, and a mask for protection during installation.

3: Step-by-Step Installation Guide :
- Plan and measure: Assess your garage space and determine the dimensions for your shelving units. Consider factors such as height, width, and depth to ensure a proper fit.
- Mark the walls: Use a pencil and masking tape to mark the position and height of the shelving units on the walls. This will serve as a guide during the installation process.
- Install the uprights: Begin by installing the uprights, following the manufacturer's instructions. Use a level to ensure they are perfectly vertical and secured to the wall. Use appropriate anchors and screws for stability.
- Attach brackets: Attach the brackets to the uprights at the desired heights, ensuring they are evenly spaced and leveled.
- Assemble the shelves: Following the instructions provided by SteelPowerShelving, assemble the shelves and place them onto the brackets. Adjust as necessary for height and spacing.
- Secure the shelves: Once the shelves are in place, make sure they are secured to the brackets using screws or other recommended fasteners. This will prevent any accidental movements or dislodging.
- Test and adjust: After completing the installation, test the shelves' stability and adjust as needed. Ensure that each shelf can bear the intended load without bowing or sagging.

Creating your own garage shelves using SteelPowerShelving can significantly enhance the organization and functionality of your space. With the right materials, tools, and careful installation, you can transform your cluttered garage into an efficient area where everything has its place. Start your DIY project today and experience the benefits of SteelPowerShelving first-hand.

