
Building shed shelves between studs is a practical and space-saving solution for adding extra storage to a wall without taking up valuable floor space. Here's a step-by-step guide on how to build shed shelves between studs:
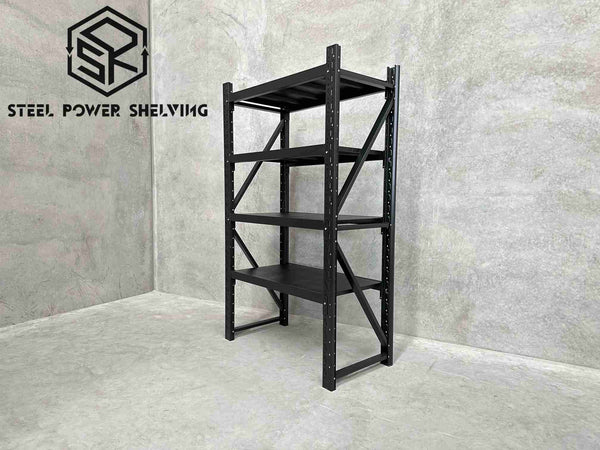
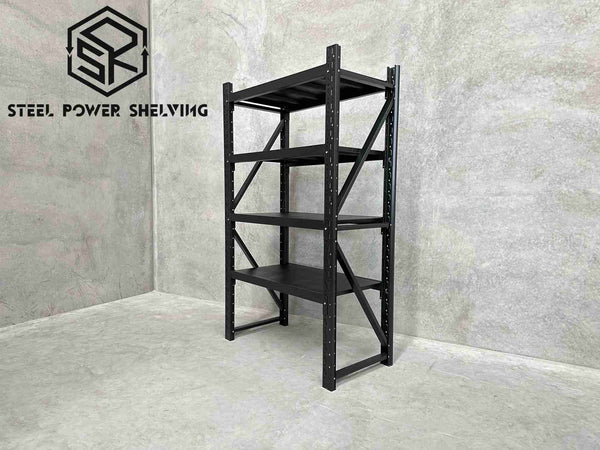
Shelf 2.0m(H)x1.2m(L)x0.6m(D)1000kg
Materials Needed for building a shed shelves between studs:
- Measuring tape
- Stud finder
- Level
- Handsaw or jigsaw
- Nails or screws
- Wood boards (or pre-cut shelves)
- Paint or stain (optional)
Step-by-Step Instructions of building a shed shelves between studs:
-
Measure and Mark: Use a measuring tape to determine the width and height of the space between the studs where you want to install the shelves. Mark the positions of the studs on the wall using a stud finder.
-
Cut the Shelves: Depending on your measurements, cut the wood boards to the desired length using a handsaw or jigsaw. Alternatively, you can purchase pre-cut shelves that fit the space.
-
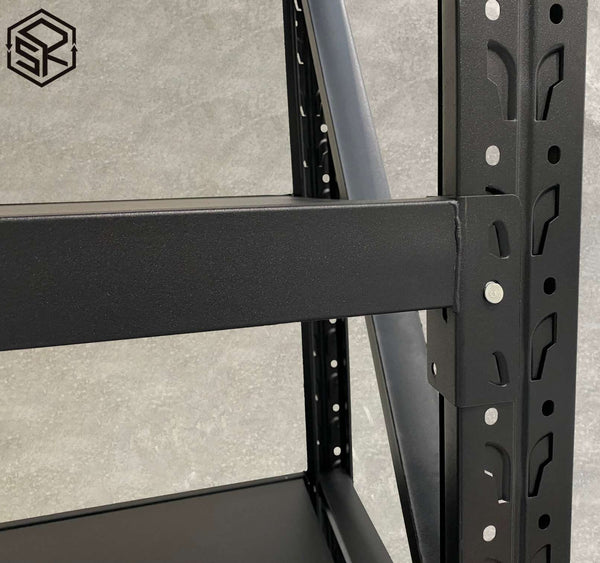
Create Shelf Supports: Measure the depth of the shelves you want to install. Cut vertical support pieces from the same wood or use 1x2 or 2x2 boards to create a frame that will hold the shelves. The vertical supports will be installed between the studs and will hold the shelves securely.
-
Install the Supports: Position the vertical supports between the studs and use a level to ensure they are straight and level. Secure the supports to the studs using nails or screws.
-
Install the Shelves: Place the cut wood boards or pre-cut shelves on top of the vertical supports. Make sure they are level and evenly spaced. Secure the shelves to the supports using nails or screws.
-
Finishing Touches: If desired, paint or stain the shelves to match the decor of the room. This step can be done before or after installation.
Tips:
- Ensure the shelves are level and securely attached to the supports to avoid any instability or risk of falling.
- If you want to add more shelves or make adjustments, measure and cut additional shelves and supports accordingly.
- Consider using adjustable shelf brackets to allow for flexible shelf heights.
Safety Precautions:
- When using a saw or power tools, wear appropriate safety gear, such as safety glasses and gloves.
- Be cautious of any electrical wires or pipes that may be running within the wall. Use a stud finder to identify the location of studs and avoid cutting into these areas.
By following these steps, you can create functional and attractive shelves between studs, optimizing the use of space in your home while maintaining a neat and organized environment.