

Table of Contents
- Introduction
- Why Add Wheels to Metal Shelving?
- Preparation Before Adding Wheels
- Tools and Materials Needed
- Step-by-Step Guide to Installing Wheels
- Safety Tips for Mobile Metal Shelving
- Best Applications for Wheeled Shelving
- Recommended Products from Steel Power Shelving Store
- Summary Table
- References
Introduction to Put Wheels on Metal Shelving
Metal shelving is an essential storage solution for garages, warehouses, offices, and even homes. However, stationary shelves can sometimes limit flexibility. By adding wheels to your metal shelving, you can transform it into a mobile and versatile storage unit. This guide will explain step-by-step how to install wheels on metal shelving, the benefits of doing so, and the best shelving products from Steel Power Shelving Store that are perfect for this modification.

Why Add Wheels to Metal Shelving?
Wheels provide convenience, flexibility, and improved space management. Here are some benefits:
- Mobility: Easily move shelves around your garage, warehouse, or office.
- Space Optimization: Rearrange storage areas quickly to maximize space.
- Versatility: Convert static shelving into portable workstations or tool carts.
- Cleaning Made Easy: Move shelves aside for easier cleaning of the floor.
Preparation Before Adding Wheels
Before attaching wheels, consider these factors:
- Weight Capacity: Ensure the shelving and wheels can support the intended load.
- Wheel Type: Choose heavy-duty casters with brakes for stability.
- Floor Type: Rubber wheels work well on concrete, while polyurethane is ideal for smooth surfaces.
- Shelving Stability: Reinforce the frame if necessary before mobility.
Tools and Materials Needed to Put Wheels on Metal Shelving

- Set of heavy-duty caster wheels (preferably 4, with 2 locking brakes)
- Wrench or socket set
- Screwdriver or drill with metal bit (if drilling is required)
- Bolts, nuts, or caster mounting plates (depending on shelving design)
- Measuring tape
- Protective gloves and eyewear
Step-by-Step Guide to Installing Wheels
Step 1: Check Shelf Compatibility

Not all shelving units are designed for wheels. Ensure that your metal shelving has a flat bottom frame or adjustable legs that can accommodate caster wheels.
Step 2: Select the Right Wheels
Choose casters based on load capacity. For example, if your shelving holds 200 kg, each caster should support at least 60–80 kg to ensure durability.
Step 3: Prepare the Shelving
Empty all items from the shelving to reduce risk during installation. Place the shelving on its side for easier access to the base.
Step 4: Attach Mounting Plates or Drill Holes
If your shelving has pre-drilled holes, align the caster plates and secure them with bolts. If not, measure and drill holes at the four corners of the bottom frame.
Step 5: Secure the Wheels
Use bolts, washers, and nuts to attach the wheels firmly. Ensure at least two wheels have brakes for stability when the shelf is stationary.
Step 6: Test Stability
Once installed, upright the shelving and test mobility. Lock the brakes to ensure stability when in use.
Safety Tips for Mobile Metal Shelving
- Do not overload the shelves beyond wheel capacity.
- Always lock caster brakes when shelving is stationary.
- Distribute weight evenly to prevent tipping.
- Inspect wheels regularly for wear and tear.
Best Applications for Wheeled Shelving
Wheeled metal shelving is suitable for:
- Garages: Tool storage and workbench mobility.
- Warehouses: Easy movement of goods between aisles.
- Offices: Mobile filing or supply carts.
- Workshops: Flexible storage for parts and equipment.
Recommended Products from Steel Power Shelving Store
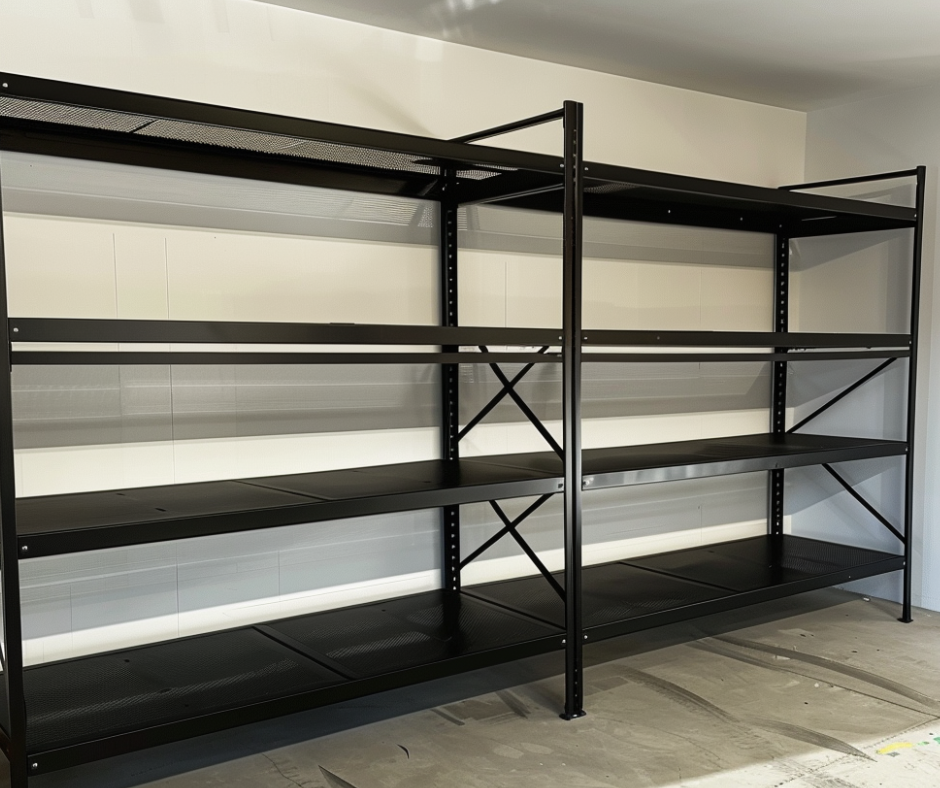
At Steel Power Shelving Store, based in Brisbane, we provide durable shelving that can be easily modified with wheels:
- Garage Shelving: Heavy-duty designs perfect for tools and equipment.
- Metal Shelving: Versatile units that can be fitted with caster wheels.
- Connecting Shelf: Expandable systems with compatibility for mobility upgrades.
- Shelving with Pegboard: Ideal for workshops, providing organization with mobility.
Our products are backed by a local delivery team and strong after-sales support, ensuring a seamless experience from purchase to installation. Trust Steel Power Shelving for all your shelving needs.
Summary Table
| Key Point | Details |
|---|---|
| Benefits | Mobility, space optimization, versatility, easier cleaning |
| Preparation | Check weight, wheel type, floor type, and shelving stability |
| Tools Needed | Casters, wrench, screwdriver, bolts, drill, safety gear |
| Steps | Check compatibility → Select wheels → Prepare shelving → Drill holes/attach plates → Secure wheels → Test stability |
| Safety | Don’t overload, lock brakes, distribute weight evenly, inspect wheels |
| Applications | Garages, warehouses, offices, workshops |
| Steel Power Shelving Products | Garage Shelving, Metal Shelving, Connecting Shelf, Shelving with Pegboard |