Building wall shelves at home is a practical way to add storage and enhance the aesthetics of your space. Whether you want to showcase decorative items, store books, or organize tools, a well-constructed shelf can do the job. In this guide, we will take you through the steps to create sturdy, functional, and stylish wall shelves using tools and materials that are easily accessible. We will also introduce you to SteelPowerShelving Workstation, a robust shelving solution designed for home workspaces.
Why Build Wall Shelves at Home?
Creating your own wall shelves allows you to customize them to your space and needs. Here are some benefits:
- Cost-effective: Building shelves at home is often cheaper than purchasing pre-made units.
- Customization: You can choose the size, material, and design to match your room's style.
- Versatility: Wall shelves can be used in living rooms, kitchens, garages, and workspaces.
Tools and Materials Needed
Before starting, make sure you have all the necessary tools and materials:
-
Materials:
- Wooden boards or metal shelves (like SteelPowerShelving Workstation)
- Wall brackets or shelf supports
- Screws, wall anchors, and bolts
- Measuring tape
- Level
- Pencil for marking
-
Tools:
- Drill
- Screwdriver
- Stud finder
- Saw (if you need to cut boards)
How to Build Wall Shelves at Home
Step 1: Choose the Location and Design

Before drilling any holes, decide where you want your shelves to be. Consider the following:
- Purpose: Are they for decoration or storage? This will determine the size and strength of the materials.
- Space: Measure the available wall space to decide the length and depth of your shelves.
- Studs: Use a stud finder to locate studs in your walls. Shelves anchored into studs will be more stable and can hold more weight.
Step 2: Select the Right Material
The material you choose will depend on the weight of the items you plan to store and your preferred style. Some options include:
- Wood: Ideal for a rustic or classic look. Choose thick, durable boards.
- Metal: Perfect for industrial-style shelves. The SteelPowerShelving Workstation is an excellent choice for workspaces, offering flexibility and strength.
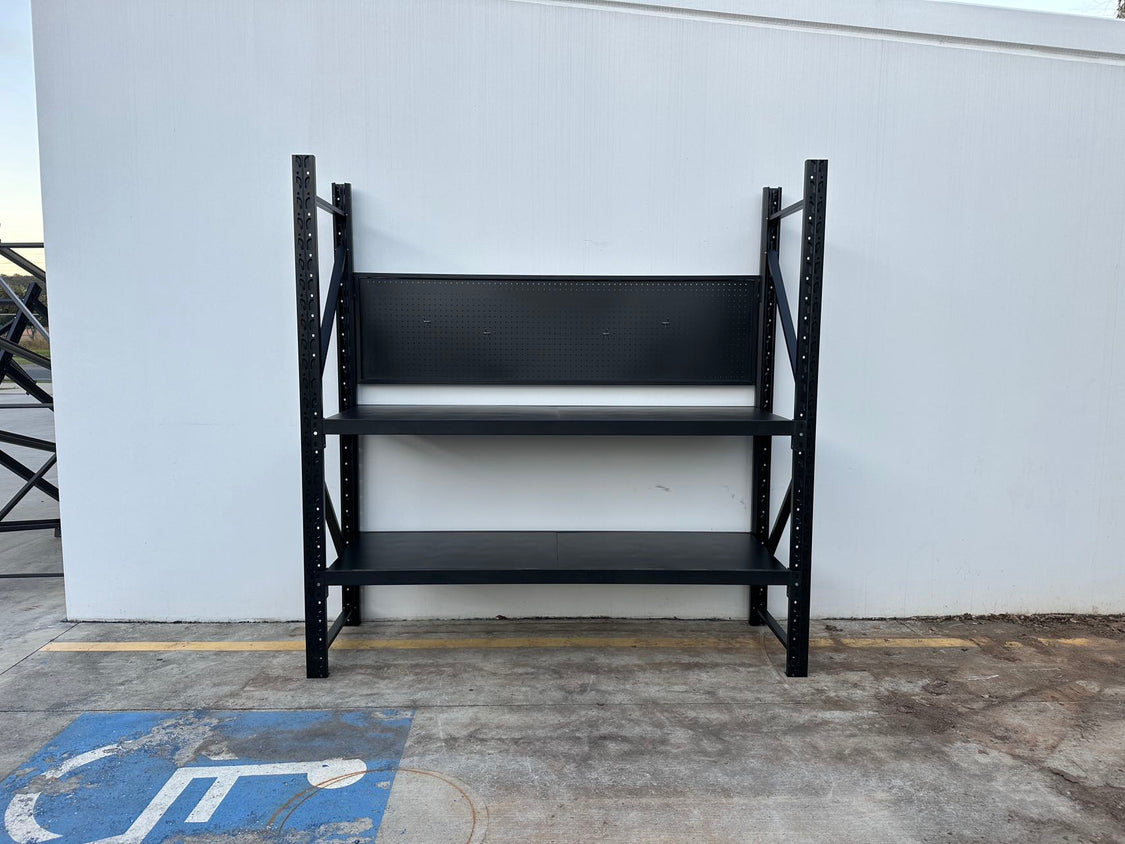
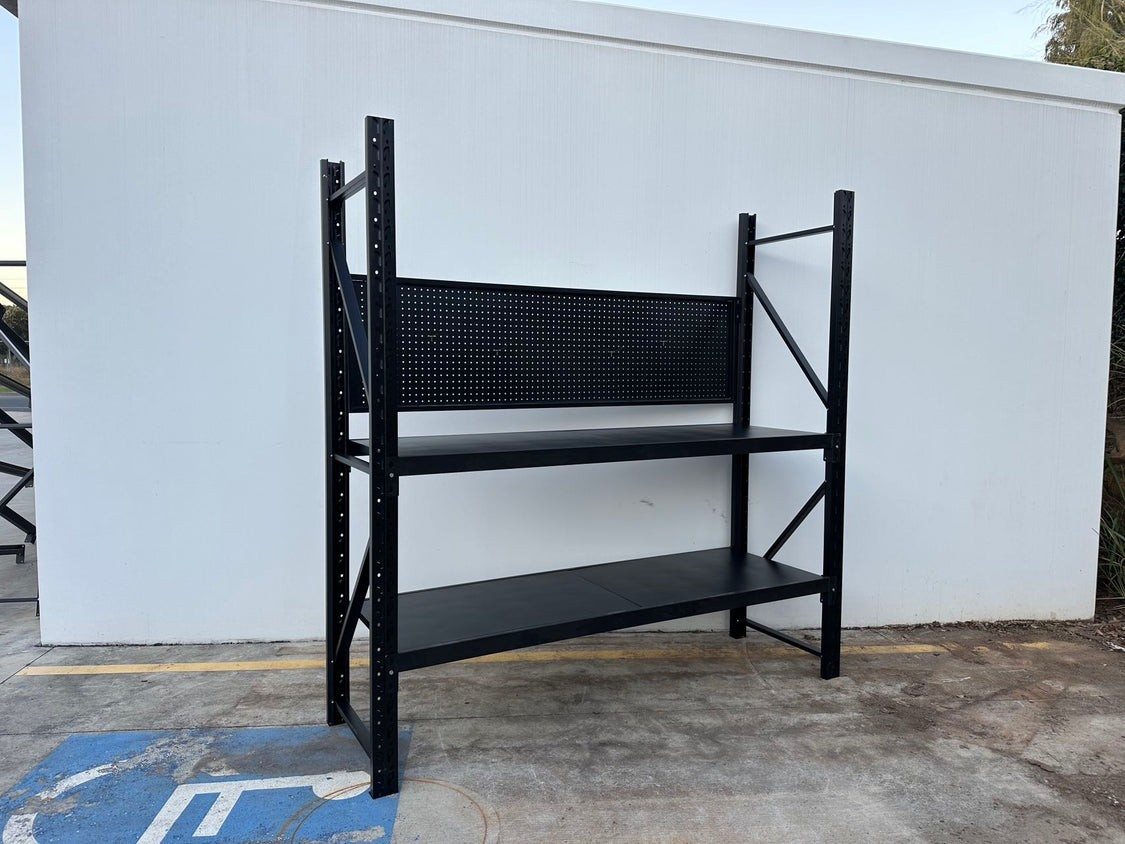
Introducing SteelPowerShelving Workstation

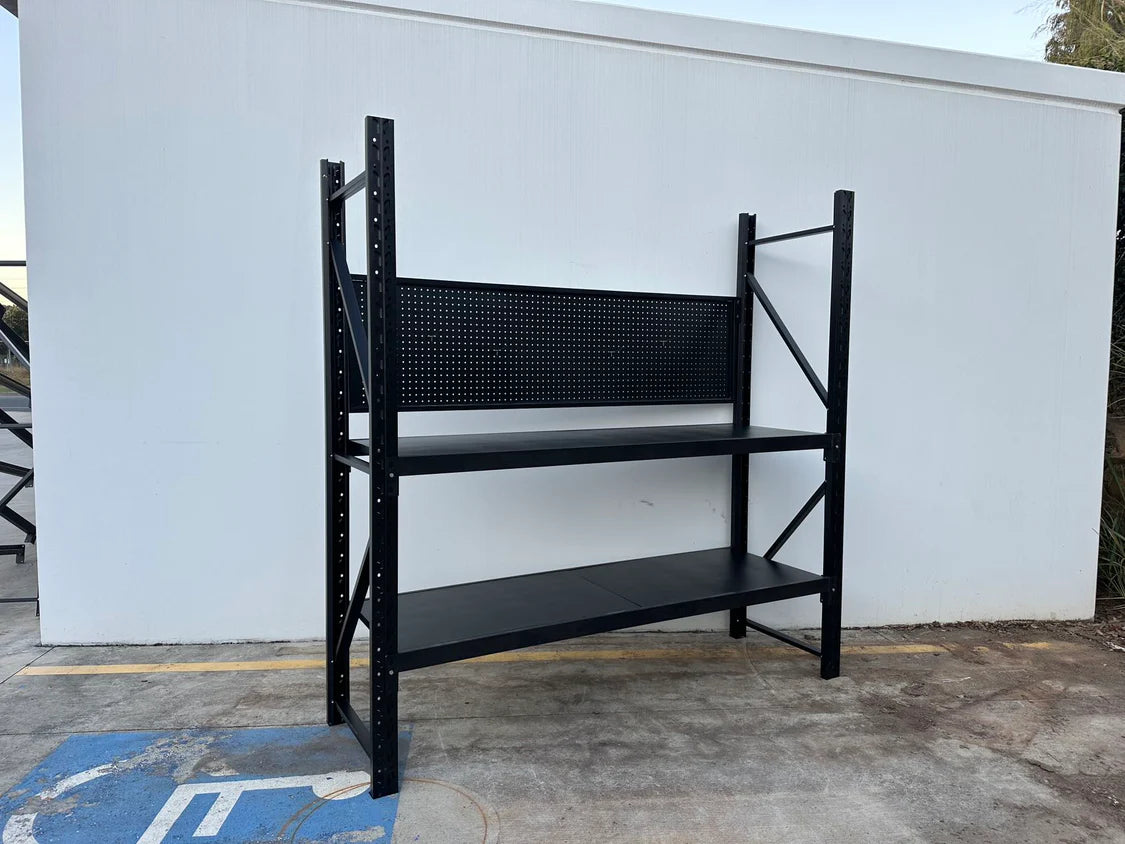
Workstation with pegboard - workbench 2.0m(H)x2.0m(L)x0.6m(D)600kg
- Dimensions: 2.0m (Height) x 2.0m (Length) x 0.6m (Depth)
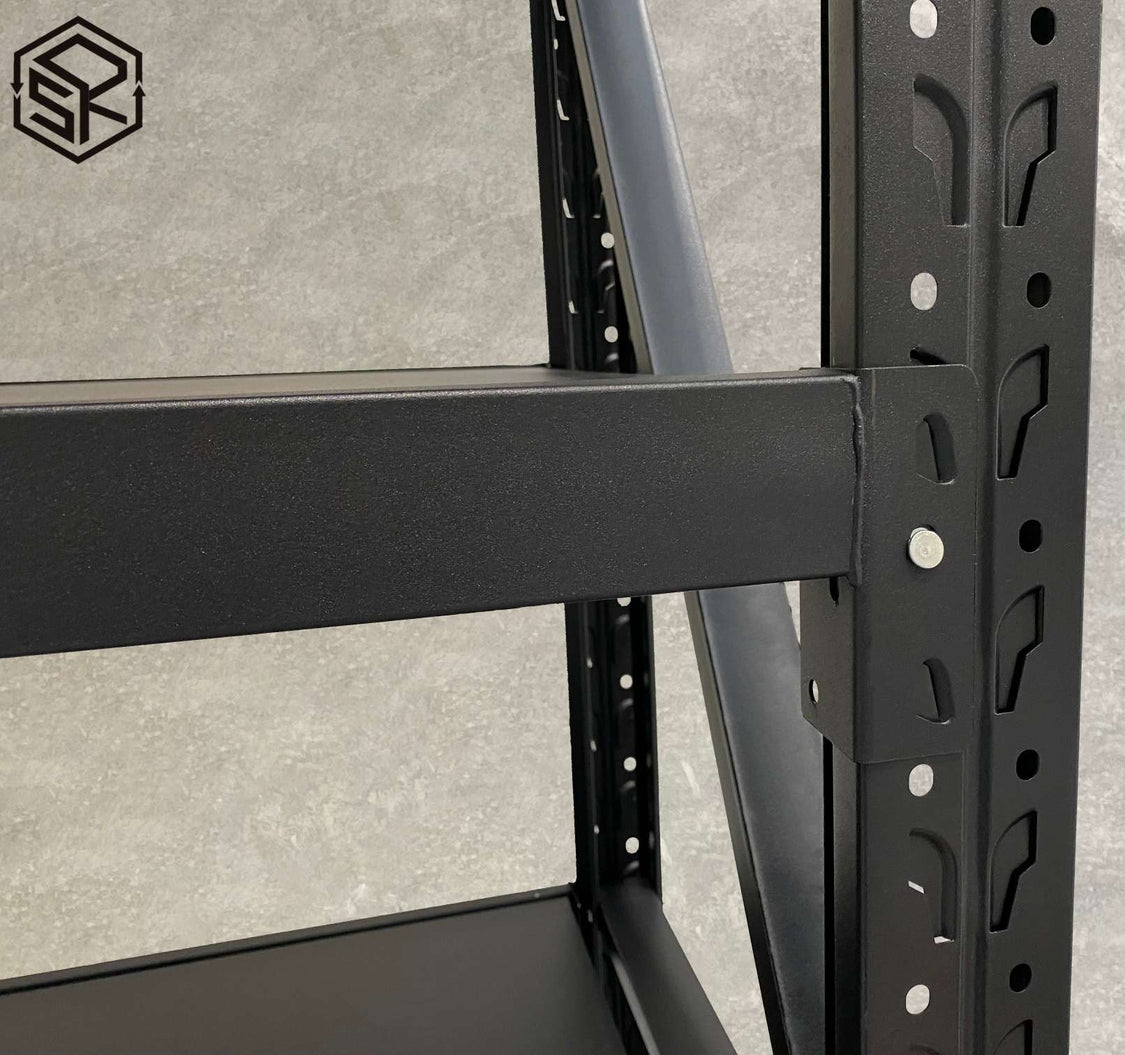
- Material Thickness: Uprights 0.7 mm, Beam 0.7 mm, Panels 0.4 mm
-
Key Features:
- 2 shelves per bay with 1 unit of pegboard
- Metal shelves included
- Extendable shelving system with available add-on kits (1.2m, 1.5m, and 2.0m)
- Easy assembly and click-in system
- Adjustable height and premium-grade power-coated finish
Step 3: Mark the Position
Once you've chosen the location and materials:
- Use a pencil to mark where the brackets will be placed.
- Ensure the marks are level by using a spirit level. This step is crucial to ensure your shelves don’t end up slanted.
- For longer shelves, space out multiple brackets for support.
Step 4: Install the Brackets
- Drill Holes: Use a drill to make holes where you've marked. Make sure you’re drilling into the studs for a more secure hold.
- Insert Wall Anchors: If you’re not drilling into studs, use wall anchors to provide extra support.
- Attach Brackets: Secure the brackets to the wall with screws. Make sure they are level.
Step 5: Prepare the Shelves
- Cut the shelves to your desired length if they are not pre-cut.
- Sand and Finish: Sand the edges and surfaces to smooth them out. You can stain, paint, or coat the shelves to match your room's decor.
Step 6: Place the Shelves on the Brackets
- Lay the shelves on top of the installed brackets.
- Secure Shelves: Depending on the design, you might need to screw the shelves onto the brackets for extra stability.
- Check Alignment: Make sure everything is aligned and level.
Tips for Building Different Types of Wall Shelves
Floating Shelves
Floating shelves have a sleek, minimalist look because the brackets are hidden:
- Use brackets specifically designed for floating shelves.
- Ensure the brackets are firmly secured into wall studs.
Adjustable Shelving Systems
Adjustable shelving systems, like SteelPowerShelving Workstation, are great for workspaces where storage needs might change:
- Easy Assembly: The click-in system allows for quick installation.
- Flexible Design: Adjustable height and extendable add-ons allow you to customize your setup.
Corner Shelves
Corner shelves utilize space that might otherwise be wasted:
- Make sure to measure the angles correctly to ensure a good fit.
- Corner brackets provide better support and stability.
Advantages of Using SteelPowerShelving Workstation

SteelPowerShelving Workstation is an excellent option for building a robust and adaptable shelving system at home:
- Super Easy Assembly: Click-in system means no complicated tools or steps.
- Flexible and Adjustable: Customize the height and add more sections with ease.
- Durability: Premium-grade powder-coated finish ensures the shelves resist rust and wear, making them ideal for garages, basements, and workshops.
- Pegboard Included: Perfect for organizing tools and accessories.
FAQs About Building Wall Shelves
Q1: Can I install wall shelves without drilling into the wall?
A1: Yes, you can use adhesive wall brackets or freestanding shelves if you do not want to drill. However, they may not hold as much weight as drilled-in shelves.
Q2: How much weight can wall shelves hold?
A2: The weight capacity depends on the materials used and how the shelves are installed. Anchoring into studs and using heavy-duty brackets can significantly increase the weight they can bear. SteelPowerShelving Workstation can hold up to 600 kg, making it ideal for heavier items.
Q3: Do I need to paint or coat my wooden shelves?
A3: Painting or coating wooden shelves helps to protect the wood from moisture and wear. You can also stain them to match your room's decor.
Table: Comparison of Shelf Types
| Type of Shelf | Materials | Best For | Pros | Cons |
|---|---|---|---|---|
| Floating Shelves | Wood, Metal | Living rooms, kitchens | Sleek, modern design | May not hold heavy items |
| SteelPowerShelving Workstation | Metal | Garages, workshops, home offices | Easy assembly, adjustable, durable | Industrial look may not fit all decor styles |
| Corner Shelves | Wood, Glass | Bathrooms, living rooms, offices | Utilizes corner space, adds a decorative touch | Requires precise measurements |
| Adjustable Shelving Systems | Metal, Plastic | Workspaces, garages | Flexible, expandable, can hold heavy items | More complex installation process |
| Freestanding Shelves | Wood, Plastic, Metal | Bedrooms, offices | Portable, no wall damage | Takes up floor space, limited stability |
By following this step-by-step guide, you can easily build your own wall shelves to suit your needs. Whether you're setting up a new workspace or adding a decorative touch to your living area, the right shelves can make a big difference. For those needing a robust, flexible solution, consider using SteelPowerShelving Workstation—a versatile shelving system perfect for various home projects.

