
When it comes to organizing your garage, having sturdy and reliable shelves is essential. In this article, we will guide you through the process of building wooden garage shelves using SteelPowerShelving, a trusted brand known for its durable steel components. By following these steps, you can create a functional storage solution that maximizes space and keeps your garage clutter-free.
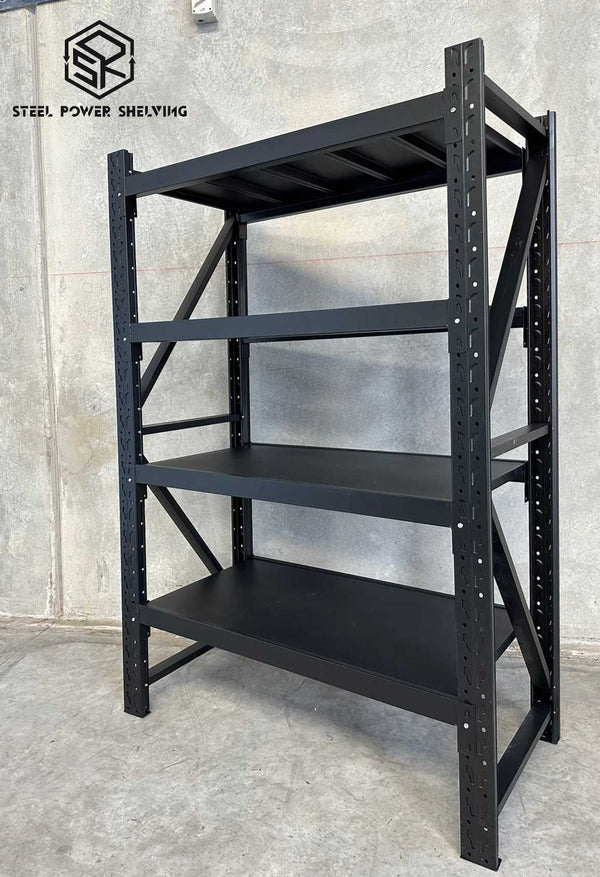
Shelf 1.8m(H)x1.2m(L)x0.6m(D)1000kg
1. Planning and Preparation:
Before diving into the construction process, it's crucial to plan and prepare adequately. Consider the available space in your garage, the dimensions of the shelves, and the weight capacity required. SteelPowerShelving offers a range of shelf sizes and weight capacities, ensuring you find the perfect fit for your needs.
2. Gathering Materials:
To build your wooden garage shelves, you will need the following materials:
- - SteelPowerShelving components (brackets, rails, and supports)
- - High-quality wooden boards (preferably pressure-treated or plywood)
- - Screws, nails, or appropriate fasteners
- - Measuring tape, level, and other basic tools
3. Designing the Shelf Layout:
Using SteelPowerShelving components, design the layout of your shelves. Consider the height, width, and spacing between shelves to accommodate your storage requirements. Ensure that the design allows for easy access to items and doesn't interfere with any existing fixtures or utilities in your garage.
4. Assembling the SteelPowerShelving System:
Follow the manufacturer's instructions provided by SteelPowerShelving to assemble the steel components. These components are designed to be sturdy and easy to install, ensuring a reliable foundation for your wooden shelves.
5. Cutting and Preparing the Wooden Boards:
Measure and cut the wooden boards according to the desired dimensions for each shelf. Sand the edges and surfaces to ensure a smooth finish. If you prefer a more polished look, you can also paint or stain the boards before installation.
6. Attaching the Wooden Boards:
Using screws, nails, or appropriate fasteners, attach the wooden boards to the SteelPowerShelving system. Ensure that the boards are securely fastened to the brackets and supports, providing a stable surface for your storage items.
7. Testing and Adjusting:
Once the shelves are assembled, test their stability by placing some weight on them. Make any necessary adjustments to ensure they can safely support the intended load. SteelPowerShelving's durable components will provide the necessary strength and support for your wooden shelves.
8. Organizing and Maintaining:
With your new wooden garage shelves in place, it's time to organize your belongings. Categorize items and store them in a logical manner, making it easier to find what you need. Regularly maintain and clean your shelves to ensure their longevity and functionality.
Building wooden garage shelves using SteelPowerShelving is a practical and efficient way to optimize your garage space. By following the steps outlined in this article, you can create a sturdy storage solution that meets your specific needs. Remember to consider the dimensions, weight capacity, and layout of your shelves to maximize their effectiveness. With SteelPowerShelving's reliable components, you can trust that your wooden garage shelves will provide long-lasting organization and convenience.